Ah, yes – Cinnamon and Raisins, the beloved power duo of the breakfast world. I really do wish that every meal could hinge on the presence of the perfect pair, but alas, one cannot maintain sustenance on bran muffins, cinnamon buns and oatmeal alone. Believe me, I’ve tried. Eating disorders aside, in all honesty it’s been a lifelong goal of mine to make the perfect cinnamon raisin bread (I know, I dream big). So, this weekend between biking across Los Angeles, refinishing some old chairs and a much anticipated Dodger game, I managed to cross that milestone off my bucket list! (Cue the applause) This recipe is actually quite easy, as time consuming it seems. You can let the dough rise for basically as long as you need while you run around crossing those other less-pressing items off your weekend to-do list. And then, magically when you bike back from Dodger Stadium past your bedtime, all that’s standing between you and cinnamon-y goodness are 25 minutes and 375 degrees. The perfect reward for a perfect weekend!
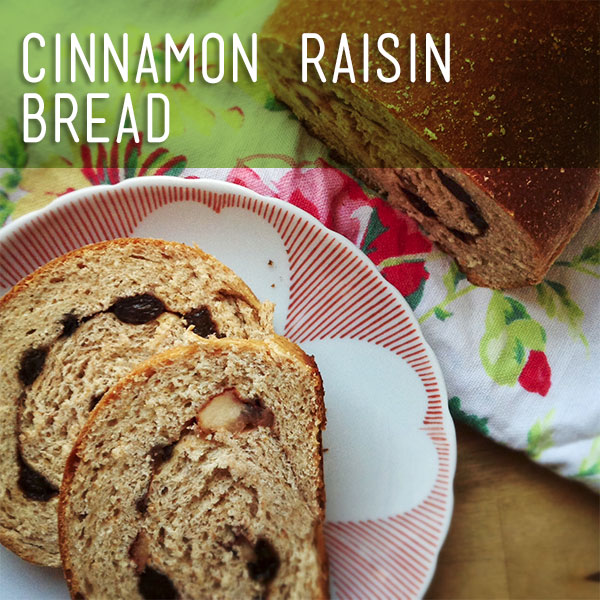
Cinnamon Raisin Bread
Recipe adapted from here
2 cups bread flour, plus more for dusting
2 cups whole-wheat flour
1/4 cup almond milk
1 large egg
2 tablespoons canola oil
3 tablespoons honey
2 teaspoons salt
1 1/2 teaspoons instant dry yeast
2/3 cup raisins (or any dried fruit – I added dried peaches and dates since I was low on raisins)
1 tablespoon plus 1 teaspoon ground cinnamon
1/3 cup packed dark brown sugar
1. Make the dough.
Measure out 1 1/4 cups very warm water and check the temperature; it should be 120 degrees F to 130 degrees F. Combine both flours, the dry milk, egg, canola oil, honey, salt, yeast and warm water in the bowl of a stand mixer fitted with the dough hook. Mix 3 minutes on the lowest setting, then increase to the next highest setting and mix 5 more minutes. The dough should be soft and sticky.
2. Let it rise.
Transfer the dough to a large bowl lightly coated with oil. Cover tightly with plastic wrap and let rise at room temperature until the dough has nearly doubled in size, about 1 hour, 30 minutes.
3. Soak the raisins.
Dry raisins will rob moisture from the bread, so soak them first in boiling water until plump, about 30 minutes. Drain and pat dry.
4. Fold the dough.
Transfer the dough to a floured work surface. Picture it as a loose square. Lift up one side of the dough and fold about one-third of it across; press down on the dough with spread fingers to remove any air bubbles. Repeat with the remaining 3 sides of the dough.
5. Add the filling.
Mist two 9-by-5-inch loaf pans with cooking spray. Divide the dough in half; roll out each half into an 8-inch square. Brush each square with canola oil, then sprinkle with the cinnamon (it’s high in antioxidants!), brown sugar and raisins.
6. Form the loaves.
Roll up each square of dough into a tight cylinder; place seam-side down in the prepared pans. Cover tightly with plastic wrap and let rise at room temperature until the dough fills the pans and springs back when touched, about 1 hour, 30 minutes.
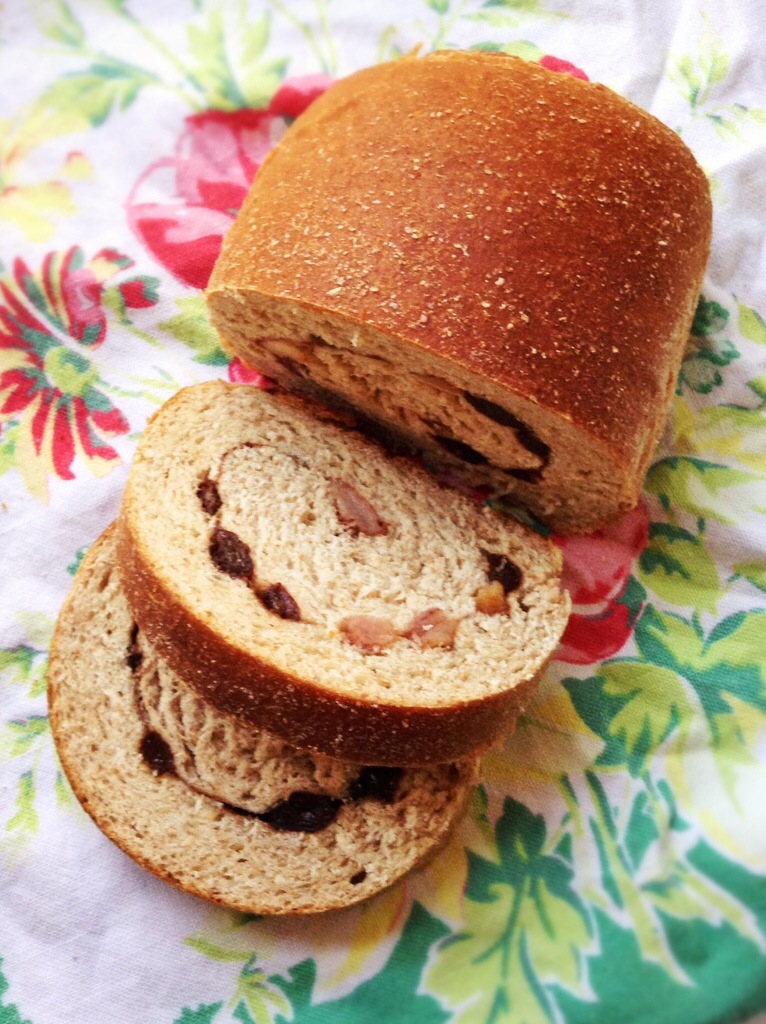
7. Bake the bread.
Preheat the oven to 375 degrees F. Brush the loaves with canola oil and bake until golden brown, 25 to 30 minutes. Remove from the pans and transfer to a rack to cool completely.